

Dry-Brining with .60% salt. I.E if steak weighs 1000 grams I am going to use 6 grams of salt. Multiply 1000 grams X .60% or .06 = 6 grams . After you calculate the salt needed coat the fillets. Why Dry-Brine? Also HERE and HERE.

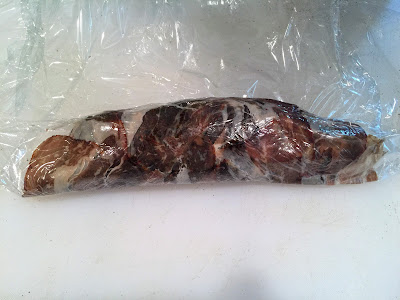
All Vac packed up. The fillets will be given a Warm Aged bath that will last 2 hrs at 104 f.
I prefer the temp of 133 f for the Teres Major but since I am going to be using several cooking techniques for the wellington I better err on the side of caution and cook them at 127 f. If you think about it for a moment the steaks will be SV, Seared than roasted in the oven. I want to avoid the inevitable increase to the internal temp as much as possible. It's bound to happen but this should help a bit.

All done!!! They were shocked and set in the refrigerator for a few hours.
The refrigeration will help mitigate the increased temp caused by the additional cooking during the sear. Note: I prepared the meat in advance. So in other words if I was doing everything in one day I would still shock and refrigerate to bring down the temp prior to the sear.
Now on to the Mushroom Stuffing
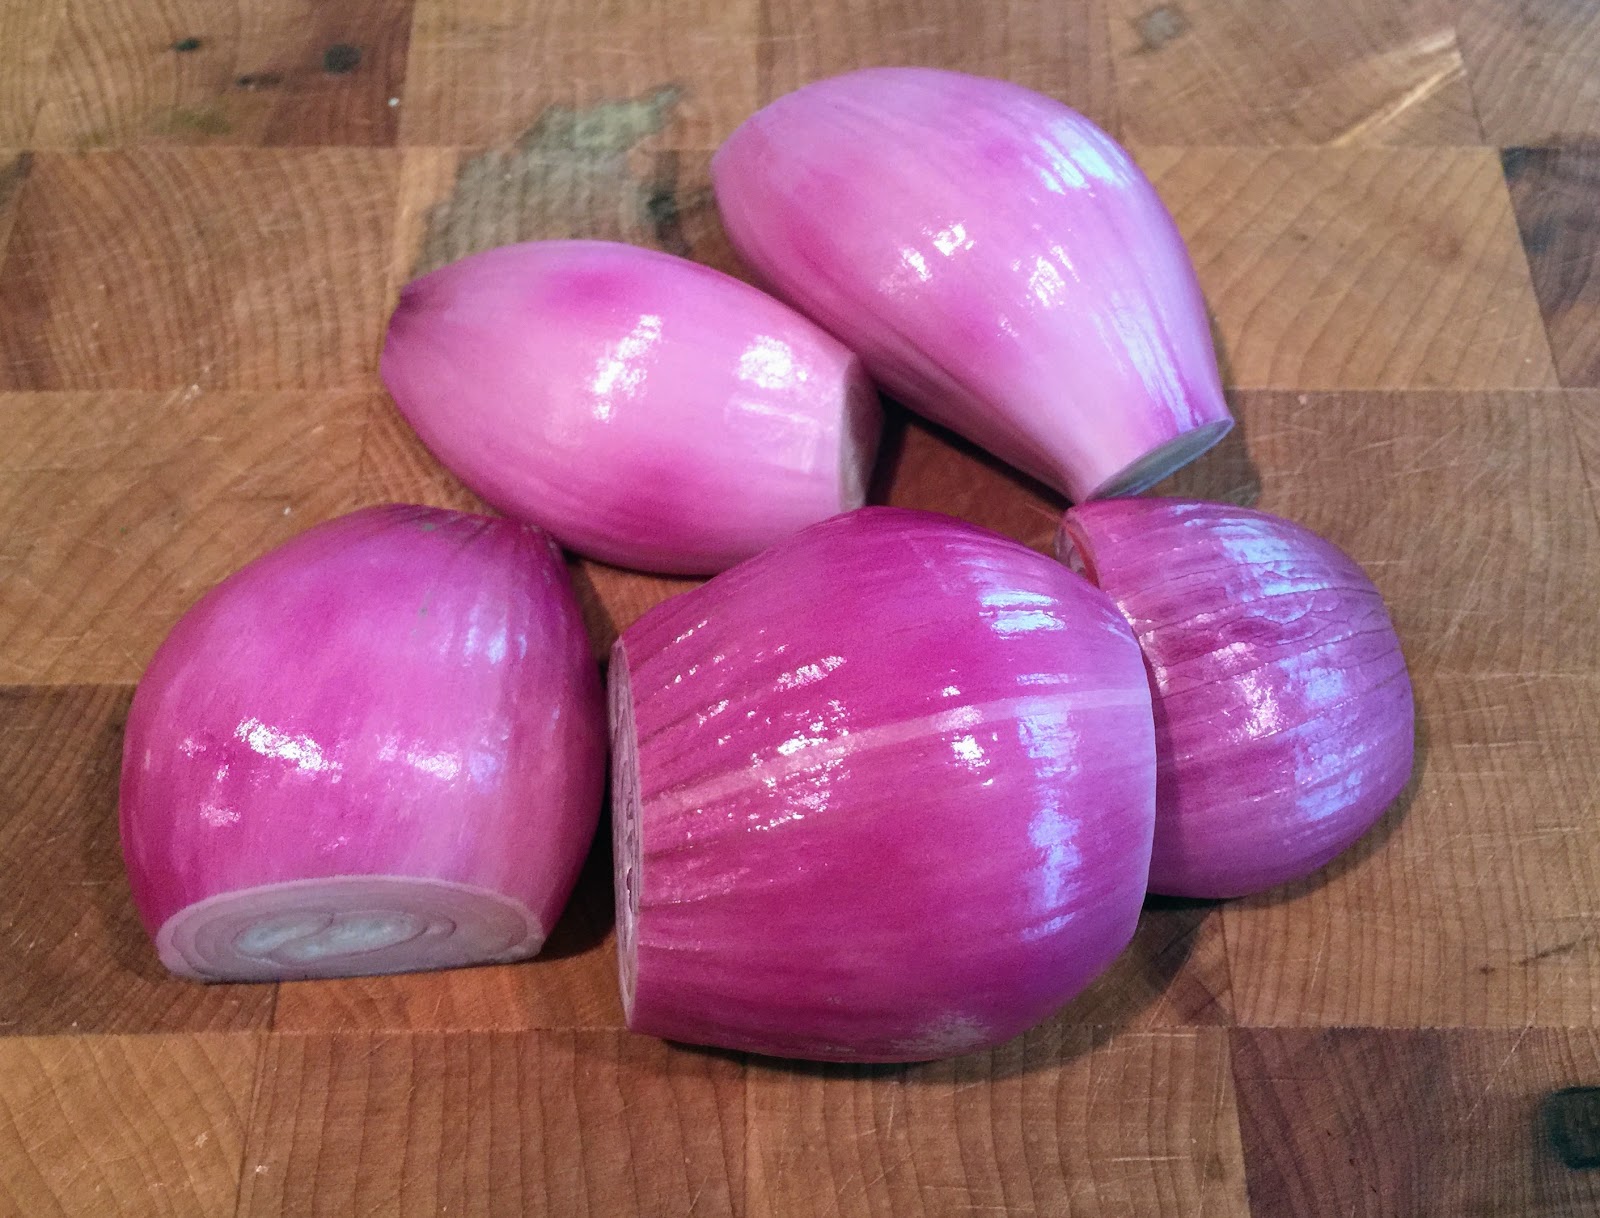

Chop up some Shallots and Cremini Mushrooms.


A hunk of meat preferably fatty and cured all chopped up. I used my Bavagool.


A few garlic cloves chopped up.
Some toasted Pine nuts too.


A few tablespoons of chopped up Sun-dried tomatoes and Italian Parsley.


A good quality Balsamic Vinegar. You're only going to need a few tablespoons but it makes all the difference in the world. And last but not least Parmigiano Reggiano Cheese.

Toss mushrooms in a large skillet and season with salt and pepper. The salt will help draw out some moisture. When the mushrooms start to take on some color add the onions. Saute for a few minutes.

Add the cured meat and saute for about 5-6 minutes to render some of that fat. Add Tomatoes and garlic.

Add the parsley and keep tasting. At this point I added smidgens of thyme, basil, oregano , tomato powder (I had some), onion powder and finally paprika. Finish by adding the pine-nuts.

Add the cheese..... I love cheese. After fully incorporated I added the vinegar. Keep adding and keep tasting.
Did you get it right? If not keep adjusting. Do you need to add sugar? I didn't but you may have too.

All done!!! Refrigerate until the next step or continue.


Using a food processor grind until a paste forms. Refrigerate until your ready for the next step. Note: I prepared this in advance.
PUTTING IT ALL TOGETHER


Remove meat from vac bags and dry off very well. Spray with a little oil. Add additional seasoning if you so desire. Do not use additional salt. Place these babies in the freezer for about 15-20 minutes before you fry them. Getting them very cold will prevent an increase to the internal temp.


Cover Fillet in AP flour. This will help with the searing and create a great crust.


Sear until nice and dark!!
Cool off and place in freezer for a rapid chill.
By now I sure you figured out this dish is all about timing and logistics. You can do many of these steps way in advance. At the end I will tell you what I did.

Almost there..... encapsulating the fillet in meat and mushroom mash. Lay down some plastic wrap. The wrap has to be wide enough and long enough to hold and wrap the entire meat and stuffing. Choose your favorite cured meat. I chose of course my Bavagool but if I did not have that on hand I would have chosen my VAM or Vealcetta.


Cover the meat with the mushroom mixture. Coat the meat with your favorite mustard (I used Dijon) and lay across the mushroom mixture.
 Using plastic wrap as your guide roll up the Fillet into a cylinder. Roll the cylinder tight and twist the ends in the opposite direction. Twisting the ends in the opposite will make the cylinder taut. Now you need to store this in the refrigerator and get it very cold. Don't forget you will need to roll this in puff pastry. If the meat is warm or at room temp the it will affect the overall internal temp. This is very tricky. The goal is to sufficiently bake the outside of the puff pastry to a golden brown and not overcook the meat. Prior to working with the puff pastry I shoved the now very cold rolled meat into the freezer for about 20 minutes.

Roll out the puff pastry and figure out how much you will need for each roll. I only needed two sheets which I connected and divided them into 3. If you have a good eye and if you have worked with puff pastry before this is easy.

 I placed all three rolls into the puff pastry to make sure I measured correctly. Let's be honest here I eyeballed the whole thing.

I used a combination of Eggs, Cream and water as my glue. Using a pastry brush I coated the perimeter of the pastry and rolled them up tucking the ends under each other.

I preheated the oven to 400f. I took the egg wash and smeared the outside of the puff pastry. I topped with more seasonings. If you have leftover pastry you can decorated the top. Also make several slashes along the top so air can escape. Don't forget this step please.
How to Bake!! Pay attention or your masterpiece will turn out poorly. BTW- The pics below are not the best..... time to upgrade the camera.


A few tablespoons of chopped up Sun-dried tomatoes and Italian Parsley.


A good quality Balsamic Vinegar. You're only going to need a few tablespoons but it makes all the difference in the world. And last but not least Parmigiano Reggiano Cheese.

Toss mushrooms in a large skillet and season with salt and pepper. The salt will help draw out some moisture. When the mushrooms start to take on some color add the onions. Saute for a few minutes.

Add the cured meat and saute for about 5-6 minutes to render some of that fat. Add Tomatoes and garlic.

Add the parsley and keep tasting. At this point I added smidgens of thyme, basil, oregano , tomato powder (I had some), onion powder and finally paprika. Finish by adding the pine-nuts.

Add the cheese..... I love cheese. After fully incorporated I added the vinegar. Keep adding and keep tasting.
Did you get it right? If not keep adjusting. Do you need to add sugar? I didn't but you may have too.

All done!!! Refrigerate until the next step or continue.


Using a food processor grind until a paste forms. Refrigerate until your ready for the next step. Note: I prepared this in advance.
PUTTING IT ALL TOGETHER


Remove meat from vac bags and dry off very well. Spray with a little oil. Add additional seasoning if you so desire. Do not use additional salt. Place these babies in the freezer for about 15-20 minutes before you fry them. Getting them very cold will prevent an increase to the internal temp.
Save the purge for the sauce.....click the link.


Cover Fillet in AP flour. This will help with the searing and create a great crust.


Sear until nice and dark!!
Cool off and place in freezer for a rapid chill.
By now I sure you figured out this dish is all about timing and logistics. You can do many of these steps way in advance. At the end I will tell you what I did.

Almost there..... encapsulating the fillet in meat and mushroom mash. Lay down some plastic wrap. The wrap has to be wide enough and long enough to hold and wrap the entire meat and stuffing. Choose your favorite cured meat. I chose of course my Bavagool but if I did not have that on hand I would have chosen my VAM or Vealcetta.


Cover the meat with the mushroom mixture. Coat the meat with your favorite mustard (I used Dijon) and lay across the mushroom mixture.

 Using plastic wrap as your guide roll up the Fillet into a cylinder. Roll the cylinder tight and twist the ends in the opposite direction. Twisting the ends in the opposite will make the cylinder taut. Now you need to store this in the refrigerator and get it very cold. Don't forget you will need to roll this in puff pastry. If the meat is warm or at room temp the it will affect the overall internal temp. This is very tricky. The goal is to sufficiently bake the outside of the puff pastry to a golden brown and not overcook the meat. Prior to working with the puff pastry I shoved the now very cold rolled meat into the freezer for about 20 minutes.
Roll out the puff pastry and figure out how much you will need for each roll. I only needed two sheets which I connected and divided them into 3. If you have a good eye and if you have worked with puff pastry before this is easy.

 I placed all three rolls into the puff pastry to make sure I measured correctly. Let's be honest here I eyeballed the whole thing.
I used a combination of Eggs, Cream and water as my glue. Using a pastry brush I coated the perimeter of the pastry and rolled them up tucking the ends under each other.

I preheated the oven to 400f. I took the egg wash and smeared the outside of the puff pastry. I topped with more seasonings. If you have leftover pastry you can decorated the top. Also make several slashes along the top so air can escape. Don't forget this step please.
How to Bake!! Pay attention or your masterpiece will turn out poorly. BTW- The pics below are not the best..... time to upgrade the camera.
So first we have to establish what our goals are and than decided how we are going to accomplish them.
- Goal 1- Brown the outside without over cooking the inside.
- Goal 2- Internal temp needs to be between 127-133 f (133 is highest it can go)
- Goal 3- Accomplish Goal 1 & 2.
Preheat oven to 400f. Use an in oven digital thermometer and shove into the smallest Beef Wellington. The temp should be pretty cold. Don't forget we are trying to brown the outside without over doing the inside. Shove everything into the oven. Watch and observe. If the outside becomes brown and the internal temp of the meat hits your target temp you've accomplished Goal 1 & 2. If you find that the outside has not browned sufficiently but the inside is getting up there that means you the meat cylinder was not cold enough. This is tricky and not easy to do. If the puff pastry browns quickly and the internal temp hits 120 f this will suffice too. If you want to go a little longer to get the inside a little warmer turn down the oven temp. There will be a little carry over cooking so take this into consideration too.


What I did.....
- Brine Meat
- SV
- Shock for 2 hours
- Refrigerate until I was ready for the next step. For me it was 3 days.
- Make Mushroom stuffing and grind up... I did this the day before I made the cylinders.
- Make Cylinders.... 1 day before Puff Pastry
- Finish!!!!
- Tada....
- Create your own schedule.


