

I knew from the start that I was going to use chicken and it was going to be stuff or rolled. I started assembling the ingredients. The pic to the left has some of them. Oh and before I forget this post is less about a recipe and more about posterity. I love blogging about new stuff I come up with. Sometimes it includes a detailed recipe and sometimes not. You could easily duplicate this recipe if you can cook at all.

All the shallots were sliced to perfection. Notice I did not chop them.

Gotta love spring onions for this dish. Basically the same as a scallion but they are planted in the fall and harvested in the spring. The green parts are more intense than the scallion green part. The white onion part is less intense than a regular onion too. Slice these up too.

A picture of the shallots, and spring onions being sauteed. Everything is sauted in olive oil. I also added Salt, pepper and crushed red pepper.

No dish would be complete without Garlic and Sun-dried Tomatoes pack in Olive oil.

Make sure to rough chop your Sun-dried Tomatoes.
Do not puree.
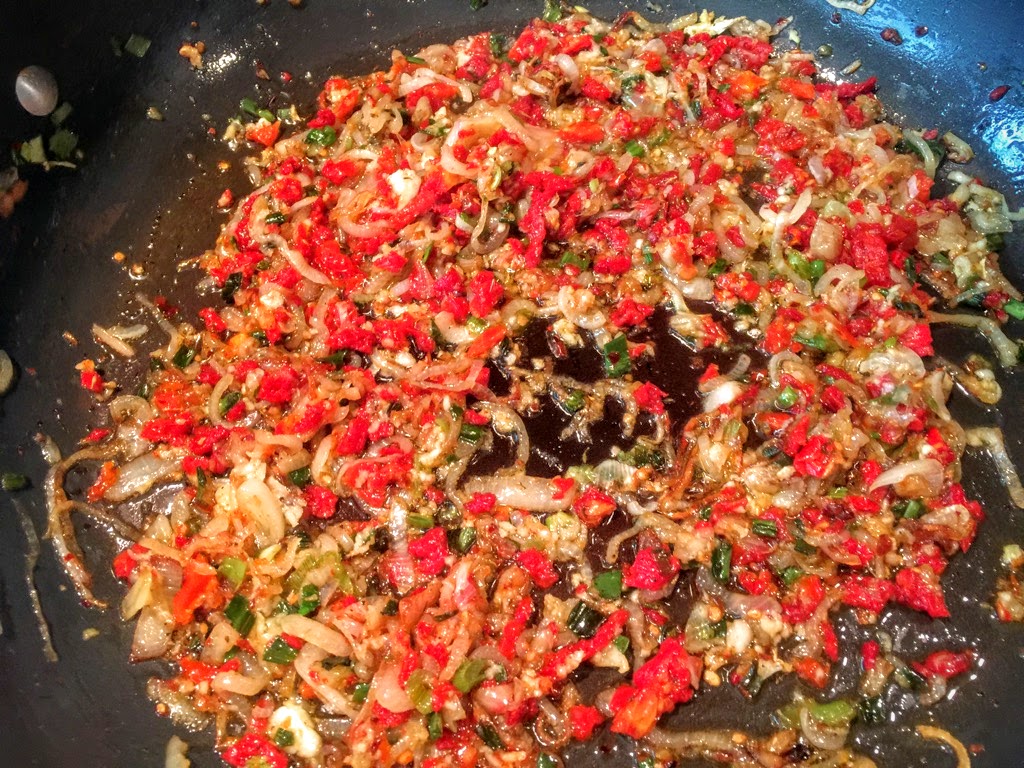
Add the finely chopped garlic and Tomatoes and cook for a while.

Rough chop the parsley and add to the pan.

Thoroughly combine.

Have toasted Pine-Nuts standing by.

Rough chop a crap load of baby spinach. Note: I did this in several batches and added them to the pan in stages.

Saute until wilted.

Once you're satisfied with the amount of spinach you have in the dish add the pine nuts.
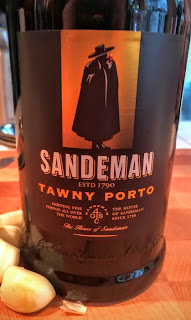
Deglaze with your favorite....Port, Tawny or whatever you have on hand.


Deglaze with your favorite....Port, Tawny or whatever you have on hand.

My three favorite cheeses Asiago, Pecorino and Parmigiano Reggiano Cheese. Grate them right over the pan. As much or as little as you want.
Sorry about the missing picture. I meant to take a photo of all the stuff I sauteed. Anyhow place in bowl and cool off. Put it over ice if you have too. It needs to be at room temp before you start stuffing your chicken breasts. Heck make it the day before if you want.
 Start out with very large chicken breasts. If the tenderloin is intact and attached to the breast you have the option of leaving it on. Or you can simply remove and use it for something else.

Using an extremely sharp knife butterfly the breast open making sure not to cut through.

Sorry about the missing picture. I meant to take a photo of all the stuff I sauteed. Anyhow place in bowl and cool off. Put it over ice if you have too. It needs to be at room temp before you start stuffing your chicken breasts. Heck make it the day before if you want.
 Start out with very large chicken breasts. If the tenderloin is intact and attached to the breast you have the option of leaving it on. Or you can simply remove and use it for something else.
Using an extremely sharp knife butterfly the breast open making sure not to cut through.

I pounded out the breast using plastic. I actually used a one gallon bag split open. I love the one gallon bag for this application because it is sturdy enough to hold up to the pounding. Make sure the breast is very moist (add some water) otherwise it will tear during the pounding. The water allows the breast to spread out without tearing.

Stack them all in a pretty plate. I had 6 of them before I stopped.

Now this is the fun part. We need to create a work surface. I laid out plastic wrap on my cutting board then covered it with parchment paper. Genius

I covered the breast with the Bovicetta. I used three slices but in the end it was not enough. In retrospect I should have used about six pieces because they were over the top great. I loved all the complex flavors the Bovicetta brought to the dish. Again three was not enough.

Add some of the stuffing.

Sprinkle on some of the cheese you used earlier.

Roll it up tucking in the sides.....make it tight. Almost like a burrito.

Get them all lined up and ready for the next step.


All done.

Vacuum Seal the chicken making sure the cylinders are not touching one another. Note: In addition to the regular vacuum seal I also use the Waring Vacuum Sealer. I don't trust bags. Double vacuum sealing is the way to go for proteins.

Vacuum Seal the chicken making sure the cylinders are not touching one another. Note: In addition to the regular vacuum seal I also use the Waring Vacuum Sealer. I don't trust bags. Double vacuum sealing is the way to go for proteins.

Time and Temp? I used 140.5 f for the water temp which guaranteed the chickens internal temp would reach 140 f degrees in X amount of time. I planned on Ice-Shocking the chicken so this temp was perfect. If I planned on not Ice-Shocking I would have chosen 135 f degrees (the oven would have cooked them further). I used the PolyScience Sous-Vide App to determine how long to SV the chicken. I love this APP. I typed in the diameter of the Chicken cylinder (biggest one), the temp I wanted the chicken finished at which was 140 F and what temp I wanted the water set which was 140.5. Had I set the temperature of the water at 140 f it would have taken longer. I wanted it sooner than later.
 Here is an example. Chicken cylinder is 2.5 inches, Chicken internal temp I desire is 140 f and water temp is 140 f also. How long until pasteurized? It will take 3:57:3.....three hours and fifty seven minutes and three seconds.
Raising the water temp to 140.5 (1/2 a degree more) shaves off almost an hour and the chicken internal temp will still be at 140 f degrees. It will take 2:57:27.... two hours and fifty seven minutes and twenty seven seconds.

All done and dried off!!! If you want to sear them a bit they have to be really dry.

Simple grill for my stove for the searing.
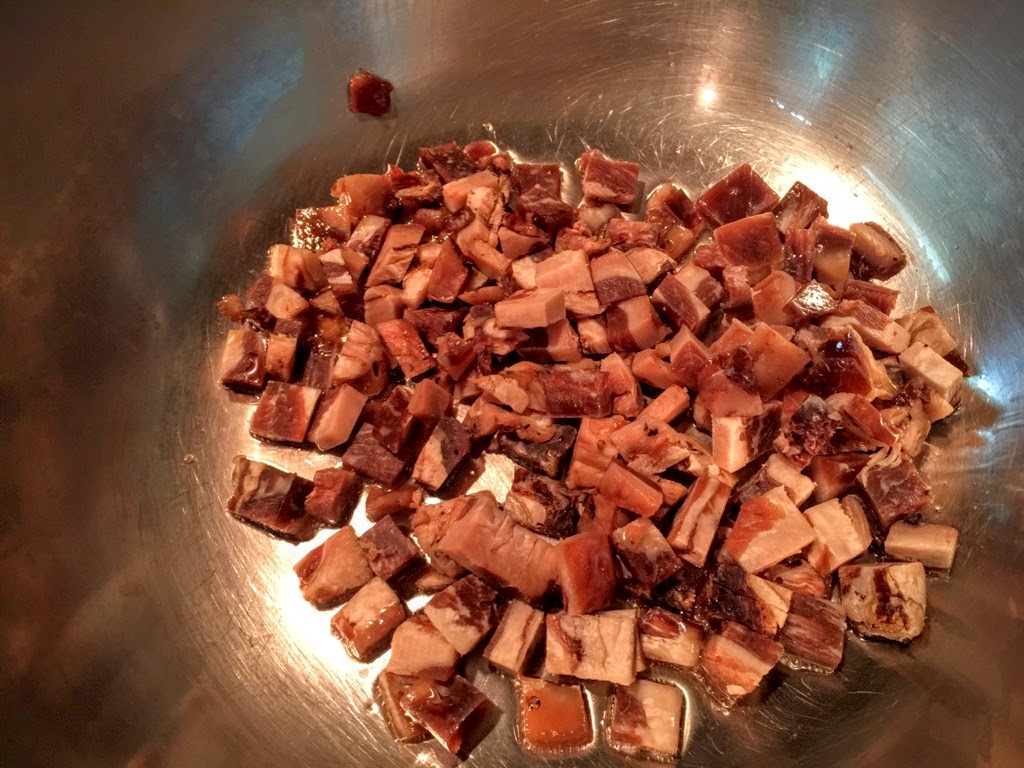

I won't go into a lot of detail but you need to make a great sauce to go with this keto dinner. I used the Bovicetta for the base.

You probably can't tell from the pic but there's Bovicetta nuggets of love floating around.

In a large roasting pan cover the bottom of the pan with sauce. Lay your chicken across the top. Cover the chicken with more sauce and cheeses. I like Mozzarella, and all the previous listed cheeses. Roast until cheese is melted.

Since this is a low carb dinner I made cauliflower rice to go with the chicken. The chicken will be placed on top.


